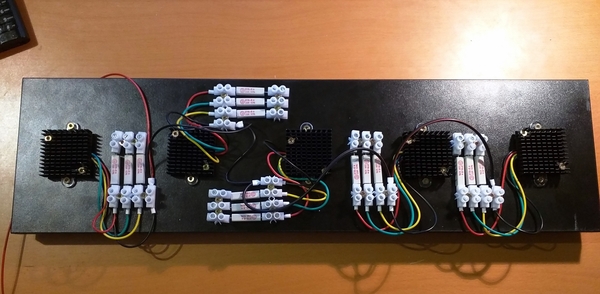
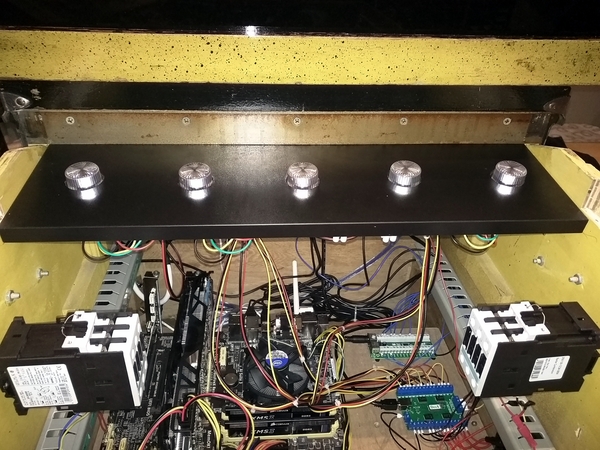
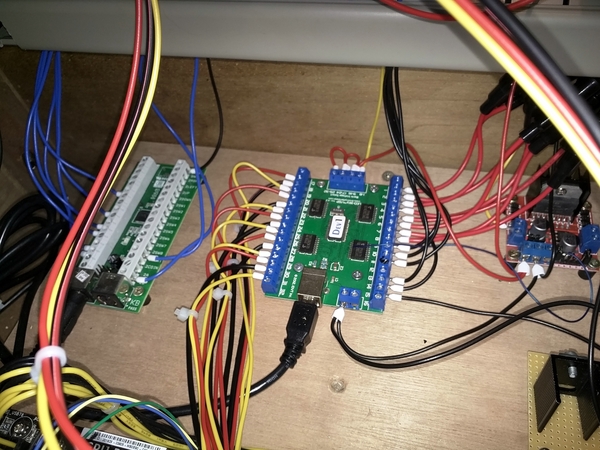
I'm on the home stretch! In recent days, I've installed the two other fan into the rear wall of the backbox. The air is then drawn through the two fans at the bottom of pinball housing and blown out at the top of the backbox again. In addition, the 32mm Forstner drill was delivered, so I could install the covers of the 5 RGB Flasher in the designated wooden board. I've stuck the RGB LEDs with thermal adhesive on the heatsink and mounted them on the board together with the series resistors. After that I connected them to the LedWiz. The 5 LEDs require a total of 15 ports on the LedWiz, one for each color. The speaker front covers are also mounted so the cab is now visually almost finished.
A few little things to do and then the Visual Pinball machine can finally move down to our living room :)


