Homemade Mame Arcade Cabinet

Für die deutsche Version hier klicken...
I'm one of those people who spent a lot of time in their youth playing video games. The Commodore C64 was primarily in my focus, but I also loved arcade videogame machines. As the old games still don't lost their charm, I decided to build an arcade cabinet on my own. With M.A.M.E. (Multiple Arcade Machine Emulator) there is an open source emulator, that brings back all the old arcade games to life. But there are also emulators for other game consoles like Atari, Nintendo, Sega and the C64.
Below I'll document my project "Homemade Arcade Cabinet" and I wish you fun with reading it (please excuse my not so experienced English). Questions, remarks or suggestions are welcome anytime via the comment function!
Looking for a construction plan for the cabinet I came across the page of Rasmus Sørensen Kønig who kindly made the drawings for his cabinets public. This should be the basis for my project in a slightly different form. I planned the cabinet 10 cm larger, it is about 1.76 meters high. My father is helping me with the wood works, he definitely has the better experience with such kind of things and we can also use his well-equipped workshop. Ever thank you for that!
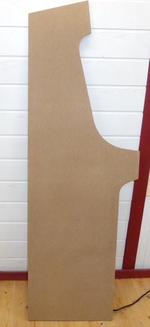
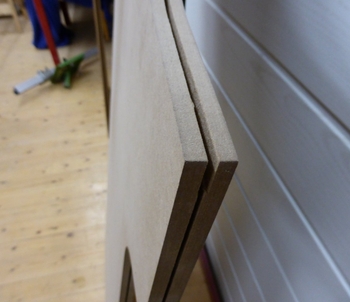
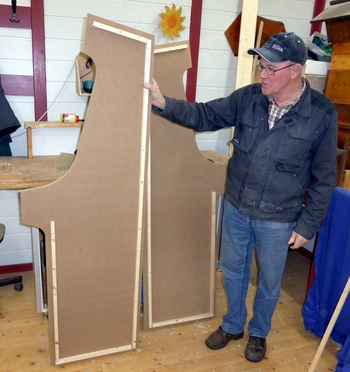
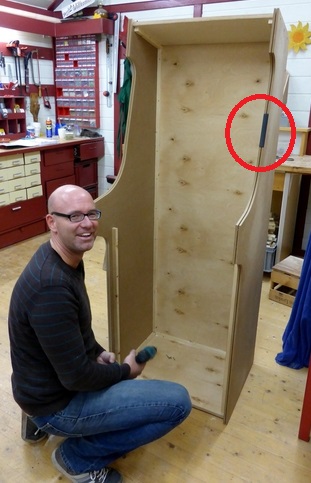
For the side panels we take 19 mm MDF boards. Since we have no router to mill the circumferential groove for the T-mold, a good friend (thank you, HGO!) made them from drawings in a carpentry shop. We attached wooden strips that fixes the rear wall, the floor and the top. It should be ensured that all the wooden parts are additionally glued with wood glue. Rear wall, bottom, top and the front housing parts are made from birch plywood (15mm thick and water-resistant glued ), since this is somewhat lighter than the MDF material.
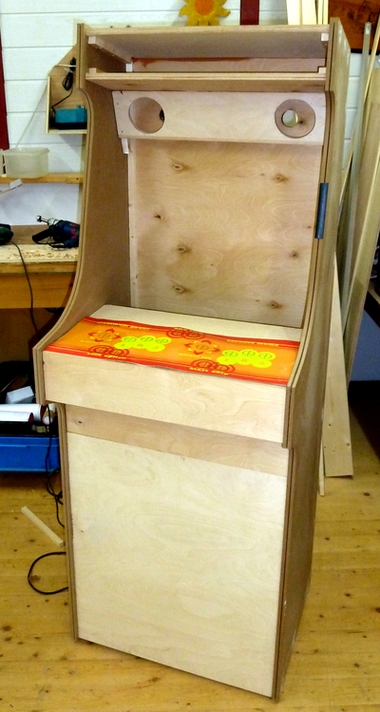
We set up the structure of the cabinet at the first evening and finally I'm getting a feel for the size of it :)
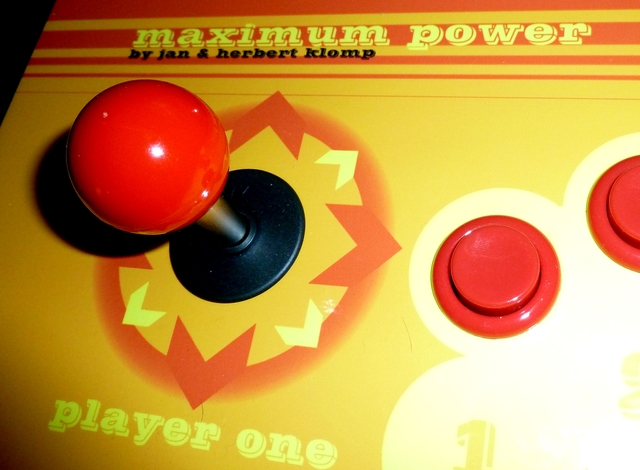
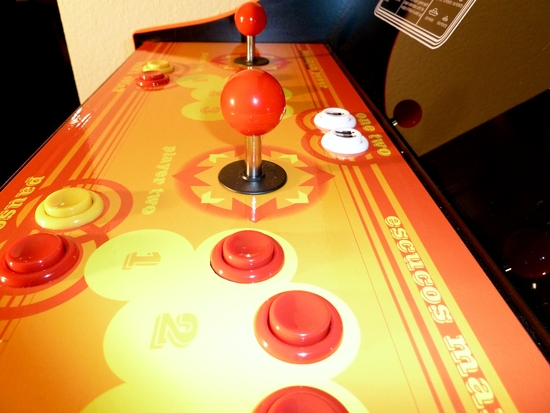
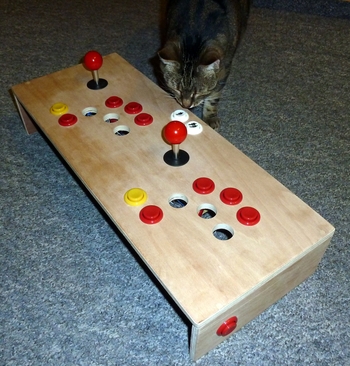
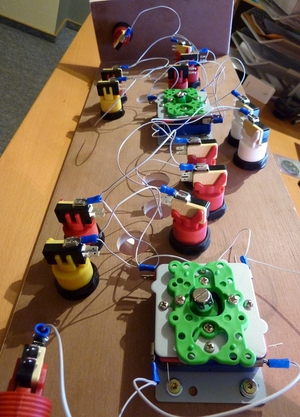
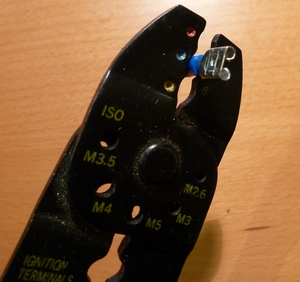
Write comment (0 Comments)In order to test the placement of the joysticks and the buttons and to program the surface on the PC, I built a temporary control panel. I installed a one- and a two-player button, per player 4 action buttons and 4 option buttons. Originally (and in the design of Kønig Sørensen included) there are 7 action buttons per player available, but that were too many for me. I ordered Joysticks and buttons from arcadeshop.de. The wiring on the back is done with cable lugs - the contacts are respectively connected to the I-PAC board from Ultimarc, which in turn is connected via USB to the PC. The I-PAC converts the button and joystick signals to normal keyboard commands (eg joystick up = arrow key up), the keystrokes are interpreted by the games emulator.
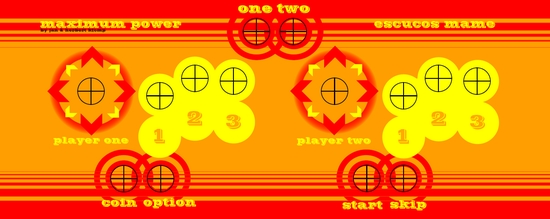
The console is 60 cm wide, which corresponds to the width of the videogame machine. Thus, two players have enough place next to each other. I've adapted the design of the control panel from Sørensen Kønig to my needs. escuco is my nickname in a number of online portals, therefore, the game box is called "escucos mame".
Of course, I had no other choice to check the test control panel with the one or the other game, Commando and Tetris are calling ;)
Write comment (0 Comments)
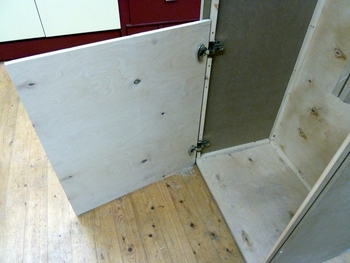
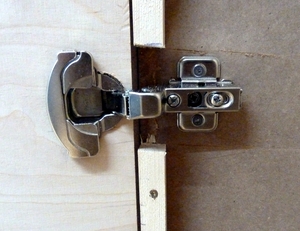
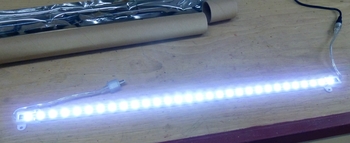
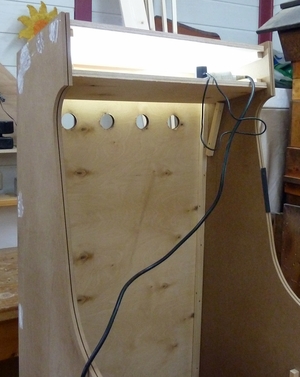
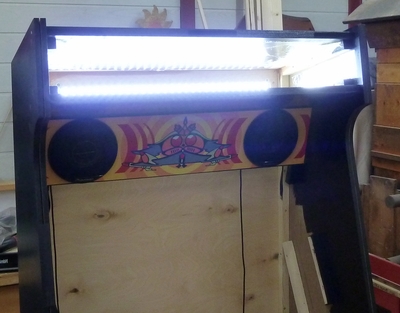
Today we've continued with the cabinet. The tray for the illuminated marquee at the top of the cabinet is ready. I'm going to install a 50 cm led light bar, that'll spotlighting the banner from behind. We also mounted 4 stable, height-adjustable feet so that the machine can be simply moved. The front service door is attached with concealed hinges. When it's necessary I can quickly maintain the PC and the audio amplifier. The assembly of the flap was contrary to our expectations amazing easy to handle - on the adjustment of concealed hinges supposedly dissertations were written ;)
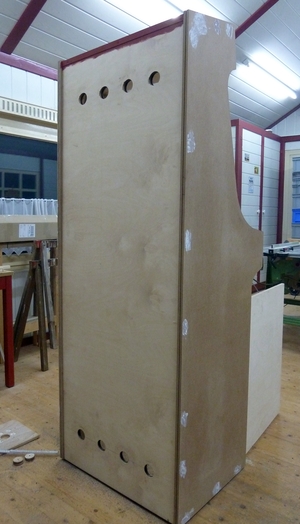
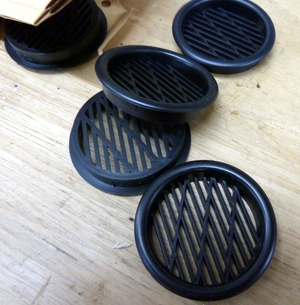
Finally, I drilled 4 holes with a lock saw at the top and at the bottom of the rear panel for ventilation. I had already ordered the matching ventilation grille in advance. The PC won't work at full load later, but also the monitor emits some heat and with the vent holes I'm on the safe side.
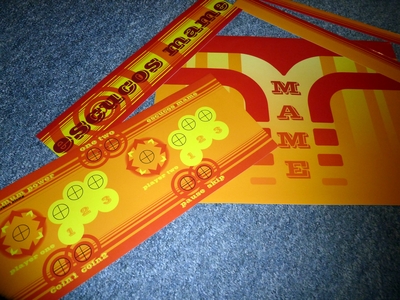
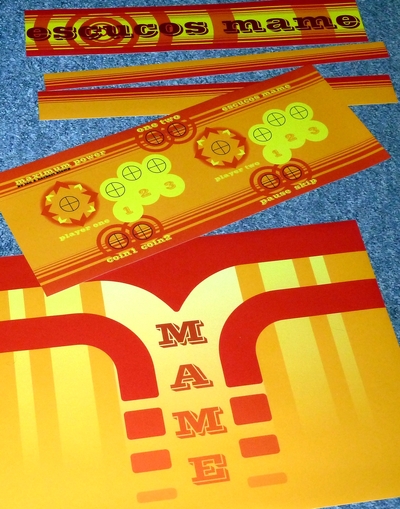
Of course, the arcade art on the cabinet may not be missing. Again, I decided to adapt the templates from Kønig Sørensen. Only regarding the sideart I'm still not sure what I should do. Maybe I'll take the official MAME logo in orange color for the side parts - that would match the orange-red design from the front. I'll pay attention for that at later timer.
But where to print the arcade-sticker? You can find many print services on the Internet, but I also asked some local companies. And it turned out that online shopping does not have to be always cheaper than the local dealer. The company van den Hooven in Nordhorn made me a great offer, the prints look really great and the printing was finished in no time.

Today we've come forward. The front now is closed and the control panel (still without holes) fits onto the bracket. In addition, the speaker panel is assembled with the pre-drilled holes. The appearance from the box is now more like a video game machine ;)
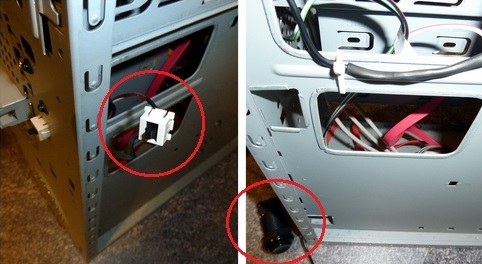
Also, I've modified the PC. Since I don't want to open the maintenance door to power-on on the pc, I've dismounted the original on-off button and connected it via cable to a black game button. The button later will be installed underneath of the control panel, so that the PC can be easily turned on from outside.
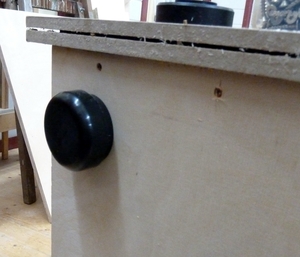
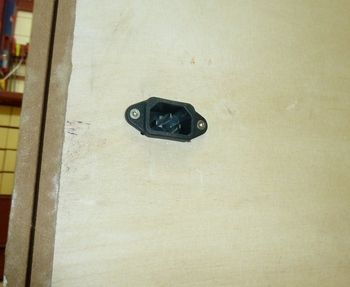
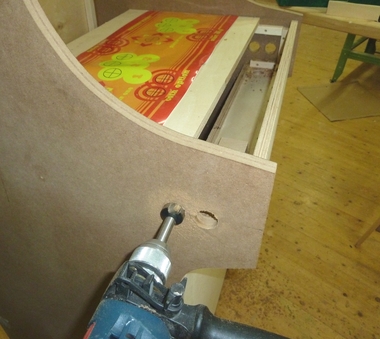
Today it was time for more measuring and less building. The correct position for the monitor had to be found and after that was done, we were able to measure the acrylic glass dimensions for marquee, bezel and controlpanel. The Perspex order will be placed online in the next few days. We fitted the monitor and we also installed the socket for the power connection in the backside. Last but not least two holes for the flipper buttons were drilled to the right and the left from the cab. On the PC Future Pinball is already running - a pretty cool pinball emulation. I know, it's unneccessary for the arcade purists - but it's a little pinball fun nevertheless ;)

I've puttied holes and blemishes in the cabinet and then finally I sanded all parts manually and primed them with diluted black wood color. Now the box looks more like a video game machine. In the next few days it will again be sanded and painted, probably a total of two times. Also, my dad and I fiddled with the plexiglass until bezel and control panel finally fixed appropriately. The holes for buttons and joysticks are drilled in plexiglass and the wooden control panel. After painting everything is then assembled for the first time.
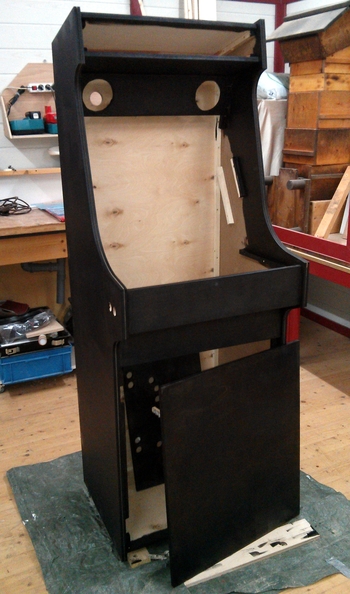
Meanwhile, I have sanded the cabinet three times with sandpaper (180) and sanding block by hand and painted it with acrylic paint - that must be enough ;) I used a very fine foam roller, which ensures a smooth finish once the paint is dry.
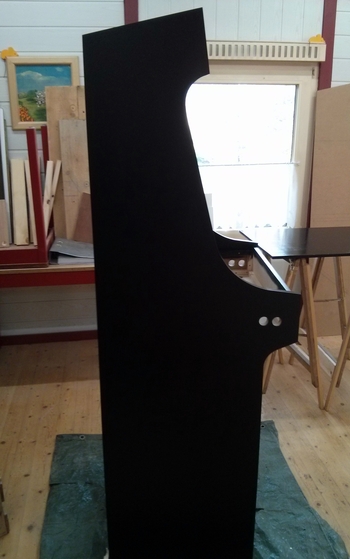
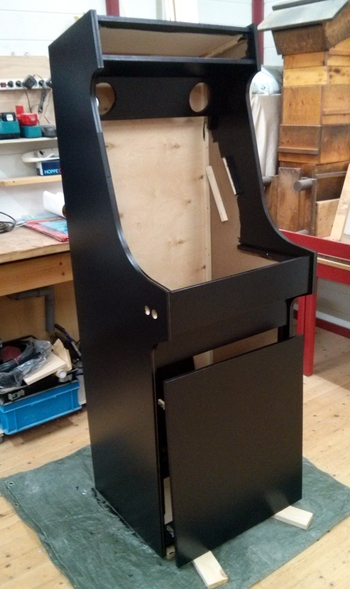
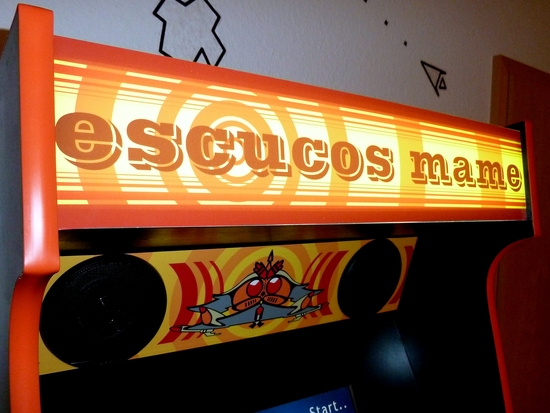
After the paint had dried, I could take care of the stickers. That was quite a fumbling until the stickers sat correct and no bubbles were present - my respect to all advertising technicians who do this with much larger films. Good thing the stickers from van den Hooven are so stable - they had to suffer a lot. What's missing is the sticker for the marquee at the top of the cab. I accidentally ordered a wrong sticker that is not translucent.
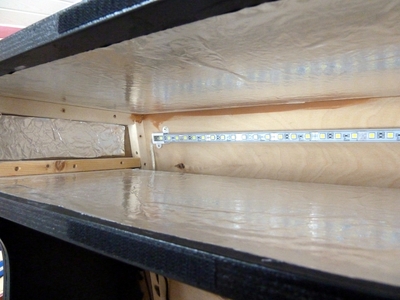
Now I could install the speakers - I'm using Pioneer TS-G1022i 2-way speakers in conjunction with a subwoofer, which will be installed in the bottom of the cab. The LED lighting is now installed. Additionally, I have glued aluminium foil at the sides for better illumination of the marquee at the sides.
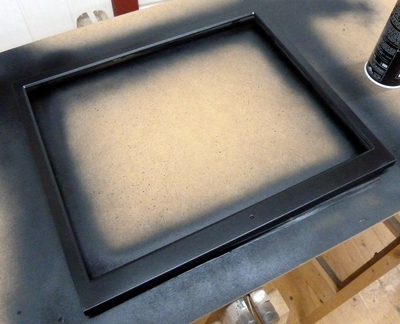
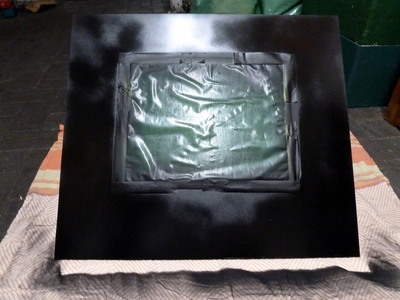
Finally, I 've built the monitor apart to paint the silver frame casing with black spray paint. Thus, later the monitor casing doesn't attract attention behind the Plexiglas panel.
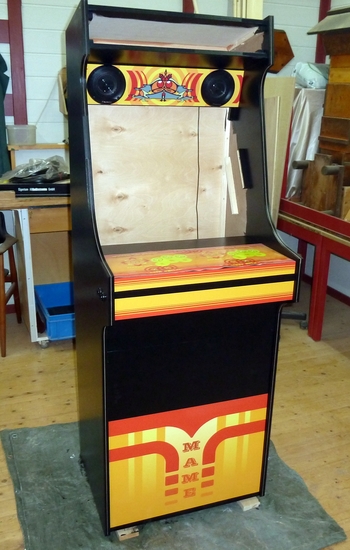
Write comment (0 Comments)
Final sprint! Meanwhile, the cab has been moved from my father's workshop to our home and received a nice place in the living room.
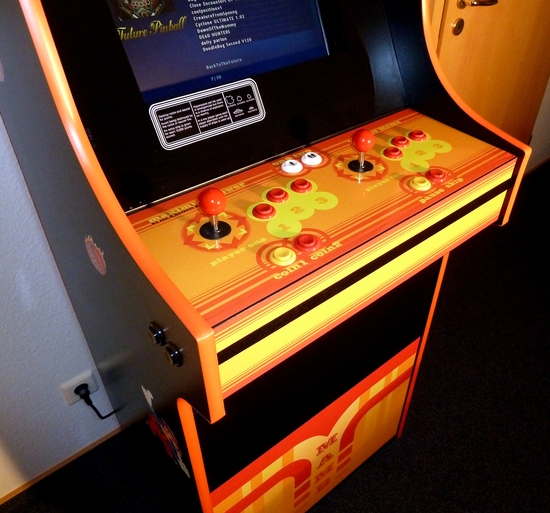
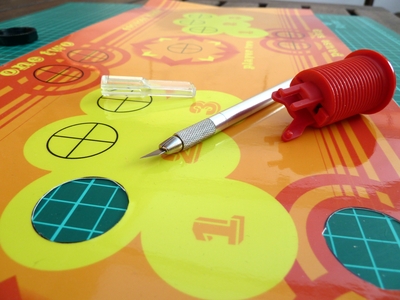
I've cutted the holes for joysticks and buttons on the controlpanel sticker - a sharp knife is a must here. Now the sticker stucks on the board and the buttons are installed and wired to the iPac. The edge of the plexiglass cover for the monitor is painted black and installed - that looks really cool now ;)
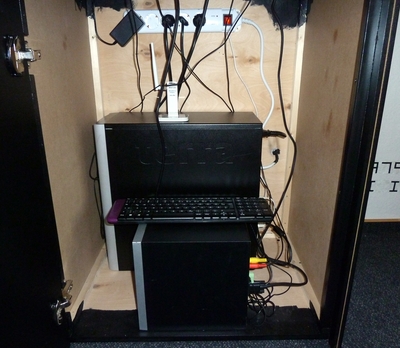
Regarding the hardware I've installed an older Wortmann Terra PC (dual-core with 2 x 2.8 GHz and 2 GB RAM) running Windows 7. For the frontend I've installed GameEx, I like the clear layout and the extensive configuration options. From GameEx the MAME games are displayed in a list with preview pictures. When you click on a list entry, further informations such as button assignment, instructions and so on are shown, besides, you can then start the game. GameEx fetches the data and thumbnails from a local database. Another emulators currently running are Future Pinball and the C64 emulator WinVICE. An update with more emulators is possible at any time. If you want to, GameEx also plays music in the frontend background - I've choosen "Surfing on a Sine Wave" from the album "Motorway" by Fear Of Dark, the nice 8-bit chiptune theme somehow fits to our new game box ;)
The whole frontend is built up in a way, that the machine can be operated without a keyboard or mouse. After switching on via push button (on the bottom of the controlpanel), Windows 7 is booting in a minimized and customized version and immediately after a short "escucos mame" intro (which can be interrupted) GameEx is starting. The handling in GameEx is done completely via the joystick and buttons.
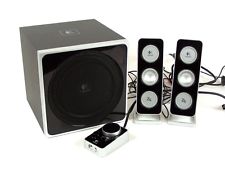
A good sound during gaming is ensured through an old sound system "Z4" from Logitech. I placed the subwoofer on the bottom of the cab and I replaced the original PC speakers with the Pioneer speakers. The remote control is hidden behind the cab. There, volume and bass can be adjusted quickly and if necessary me or my wife are able to attach headphones.
The complete hardware is switched on and off by a master-slave power strip with USB port. The PC is connected wireless to my router - in the event that I need network access.
At present I'm just waiting for the orange t-molding from www.t-molding.com. My last report is hopefully followed soon with the finished cab!
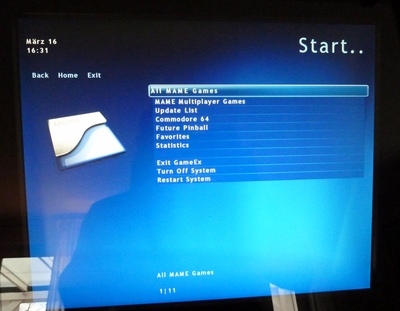
After booting the operating system a short "escucos mame" intro video starts, before the GameEx frontend loads. You can skip the intro with the "skip" key from the controlpanel
Write comment (0 Comments)
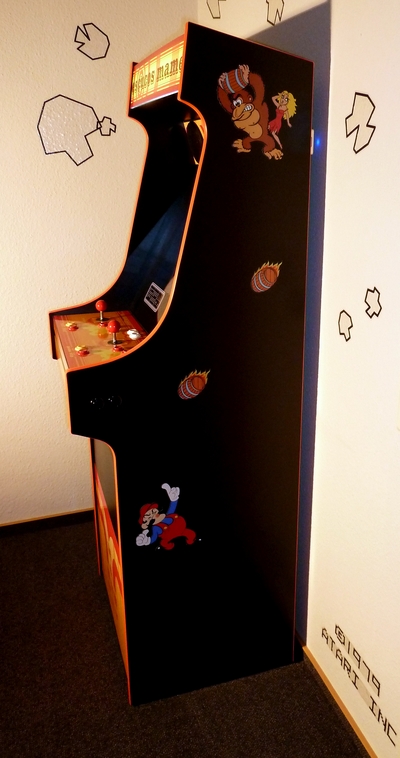
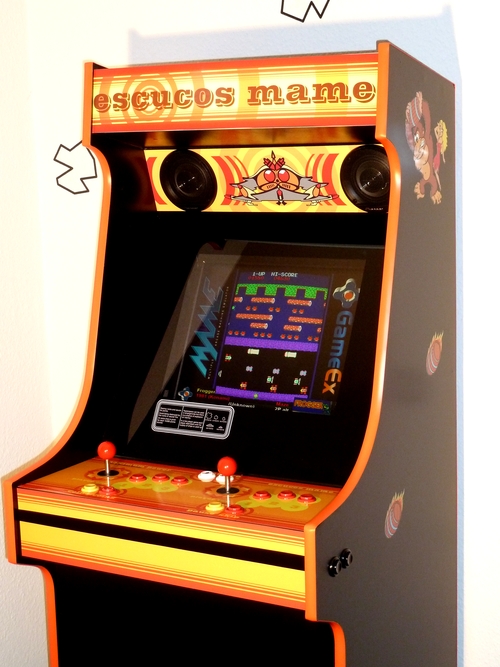
This is the last update with photos from the finished cab! The varnished bezel is installed and the T-Molding is placed in the groove of the side panels. Orange was a good choice, the color matches to the artwork very well. The cab has got a nice place in our living room and we've adapted the wallpaper for it ;)
Résumé: construction and configuration of the arcade video game machines was a lot of fun and I learned a lot. There are only a few things that I would do different the next time.
Thanks to all who have supported me in this project!
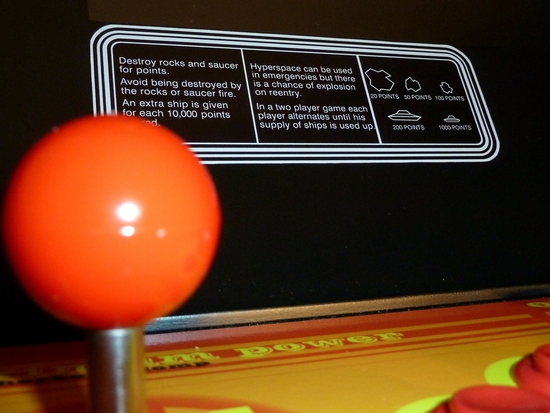
Here are the photos from the finished cab:


